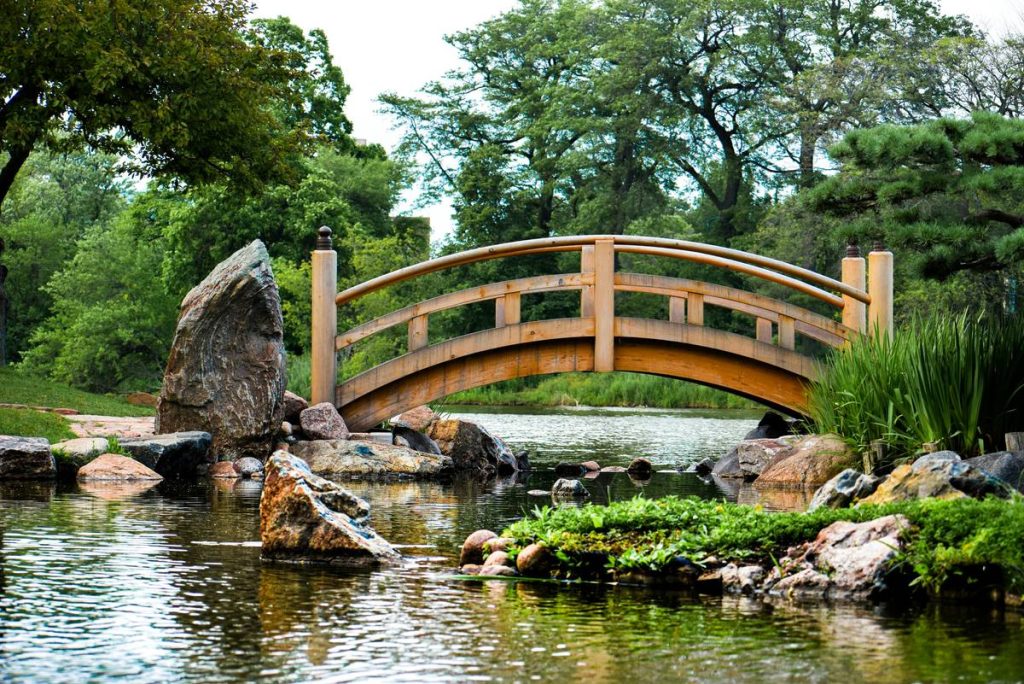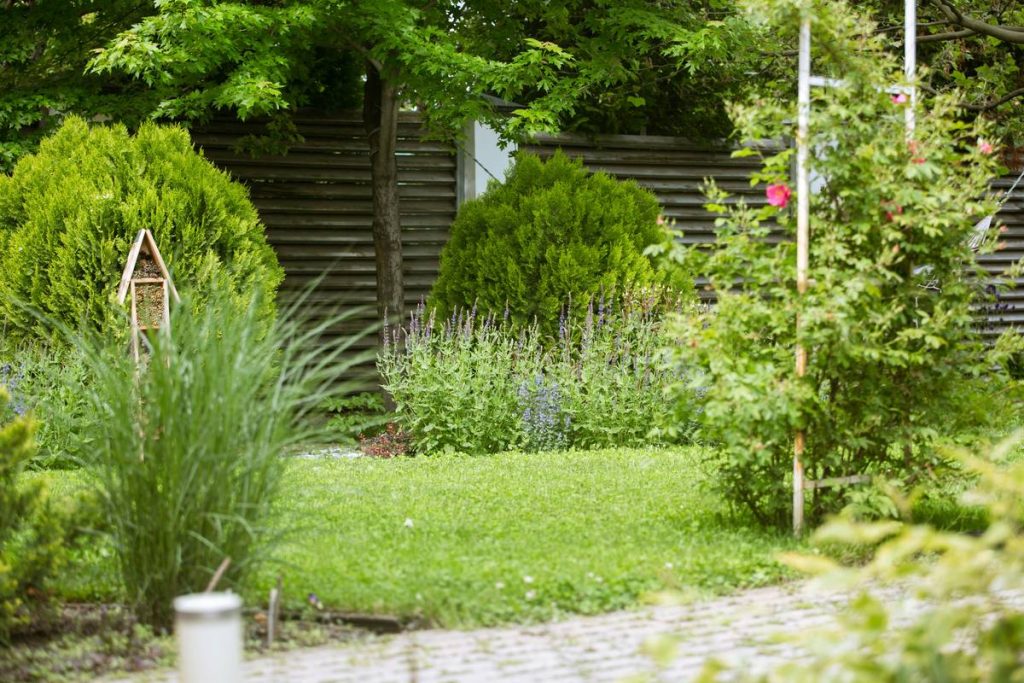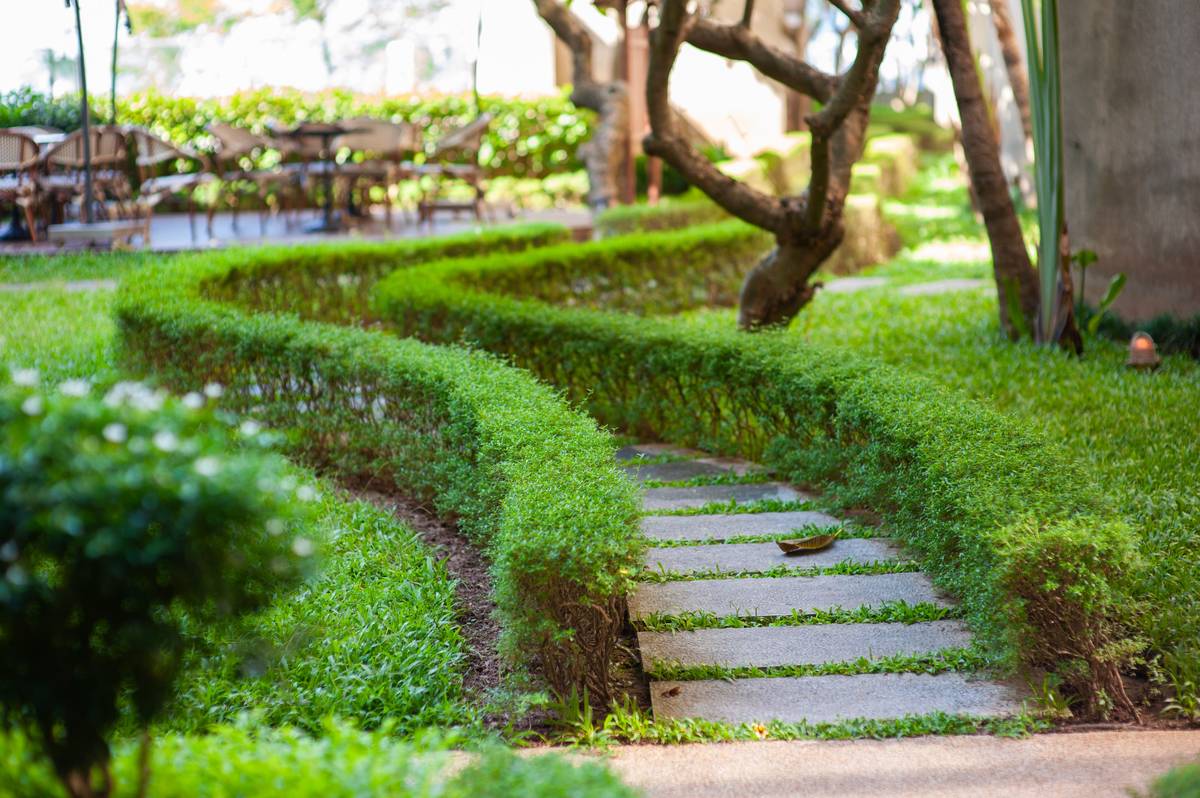
Your backyard feels disconnected. The pond sits isolated. The path dead-ends awkwardly. You’ve seen those charming garden bridges online—but most look like cheap props dropped into a scene that never asked for them. Here’s the truth: slapping a prefab arch over mulch won’t elevate your space. It’ll just highlight poor planning. The fix? Integrate, don’t install.
Why Most Garden Bridges Fail Miserably
They’re afterthoughts. Homeowners buy a “rustic” bridge from a big-box store, plop it between two flower beds, and call it landscaping. But a bridge isn’t decor—it’s infrastructure. And infrastructure needs purpose. Without alignment to natural foot traffic, drainage flow, or sightlines, it becomes visual noise.
Worse, many ignore ground stability. Wood rots. Concrete cracks. Metal rusts—especially in damp, shaded corners common near water features. I once watched a client spend $800 on a cedar span that sank unevenly after one rainy spring. All because they skipped soil assessment.
Building a Functional & Aesthetic Garden Bridge: Step by Step
Map Foot Traffic & Visual Flow First
Before measuring lumber, walk your yard for three days. Note where you naturally step. Where do visitors pause? Where does your eye travel when you sit on the patio? Your bridge must align with these invisible paths—not fight them.
Choose Materials That Age Gracefully
Pressure-treated pine? Avoid it. It leaches chemicals and warps. Go for black locust, ipe, or galvanized steel if you want decades of service. Yes, it costs more upfront. But calculate replacement cycles—most “budget” bridges need rebuilding every 4–6 years.
Anchor Like an Engineer, Not a Hobbyist
Shallow stakes won’t cut it. In Bridgend’s clay-heavy soils (common across South Wales), frost heave shifts everything. Embed concrete footings below the frost line—at least 750mm deep. Then use stainless steel brackets, not nails. Nails pull out. Brackets endure.
| Material Type | Average Lifespan | Maintenance Needs | Cost (Per Linear Meter) |
|---|---|---|---|
| Untreated Softwood | 2–4 years | Annual sealing, frequent repairs | £45–£70 |
| Thermally Modified Hardwood | 15–25 years | Minimal—occasional cleaning | £180–£240 |
| Galvanized Steel Frame + Wood Deck | 20+ years | Inspect bolts yearly; re-oil wood every 3 years | £220–£300 |
| Cast Stone/Concrete | 30+ years | Crack monitoring; moss removal | £280–£400 |
The Industry Secret: Your Bridge Should Disappear
Top landscape architects in Cardiff and Bridgend follow one rule: the best bridge is the one guests don’t notice—until they’re standing on it. How? Match textures to adjacent hardscaping. If your patio uses grey slate, echo that in bridge railings or decking. Extend planting beds right up to the abutments—no bare soil gaps.
And here’s the kicker: slope the deck slightly (1–2%) toward the center or sides for drainage. No puddles. No slippery algae buildup. Most DIY guides skip this—and then wonder why their bridge turns hazardous by August.

Frequently Asked Questions
Do I need planning permission for a garden bridge in Bridgend?
No—if it’s under 1.2m high, doesn’t cross a public waterway, and stays within your property boundary. Check with Bridgend County Borough Council if near protected habitats.
Can I build a bridge over a dry creek bed?
Absolutely. Dry stream beds are prime spots—they imply movement. Just ensure the base is compacted gravel, not loose sand, to prevent sinking.
What’s the minimum width for a functional garden bridge?
For single-file walking, 60cm works. But aim for 90–120cm if you want comfort, accessibility, or room for potted plants along the rails.