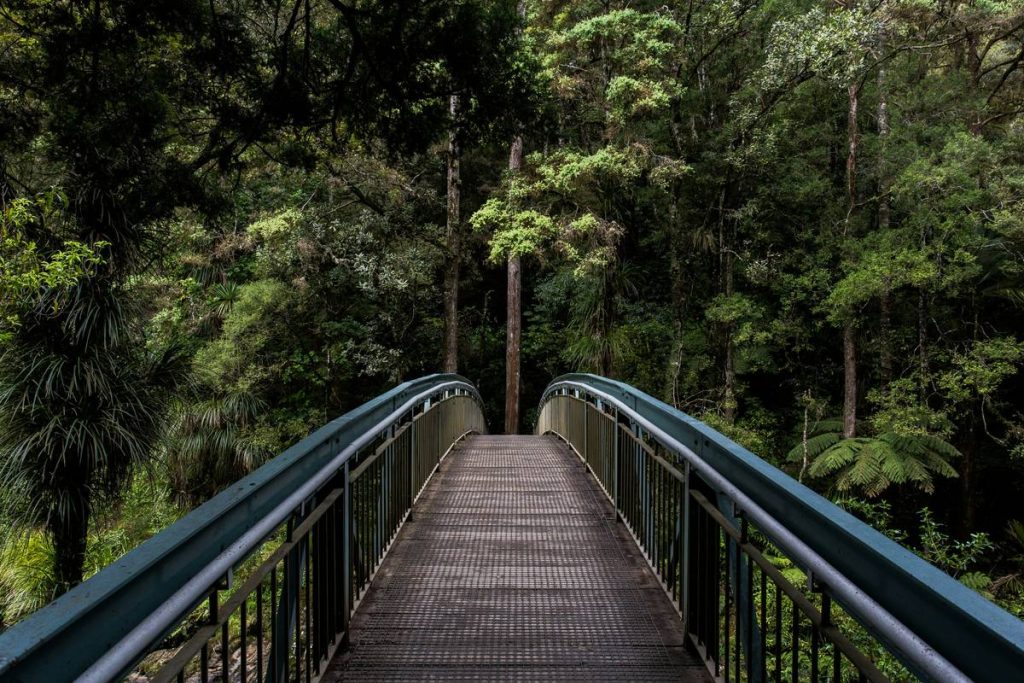
Ever walked across a rickety garden bridge that groaned louder than your knees after yard work? You’re not alone. Many homeowners dream of adding charm with a simple diy garden bridge, but end up with wobbly structures, rotting wood, or worse—trips to the ER. In this guide, we’ll walk you through how to build a safe, beautiful, and long-lasting bridge without breaking your back or your budget. Based on real builds (and one embarrassing collapse I won’t forget), here’s everything you need to know—from planning to finishing touches.
Table of Contents
- Why Garden Bridges Matter in Home Improvement
- Step-by-Step Build Guide for Your First Bridge
- Pro Tips and Best Practices
- Real-World Examples That Work
- Frequently Asked Questions
Key Takeaways
- A well-built simple diy garden bridge boosts curb appeal and property value.
- Use pressure-treated lumber or naturally rot-resistant wood like cedar or redwood.
- Always anchor footings below the frost line—typically 36 inches deep in most U.S. zones.
- Slope decking slightly (⅛ inch per foot) for water runoff to prevent pooling.
- Avoid painting pressure-treated wood too soon—it needs 2–4 months to dry fully.
Why Garden Bridges Matter in Home Improvement
Garden bridges aren’t just decorative—they solve real landscaping challenges. If you have a dry creek bed, a pond, or even a sunken pathway, a bridge creates seamless flow while adding visual interest. According to the National Association of Landscape Professionals, thoughtful hardscaping like bridges can increase home value by up to 15%. But cheap shortcuts lead to safety hazards. I once built a “quick weekend project” using untreated pine and surface-level stakes. After one summer rain, it leaned like the Tower of Pisa—and snapped under my dog’s weight. Lesson learned: durability starts with smart materials and proper footings.
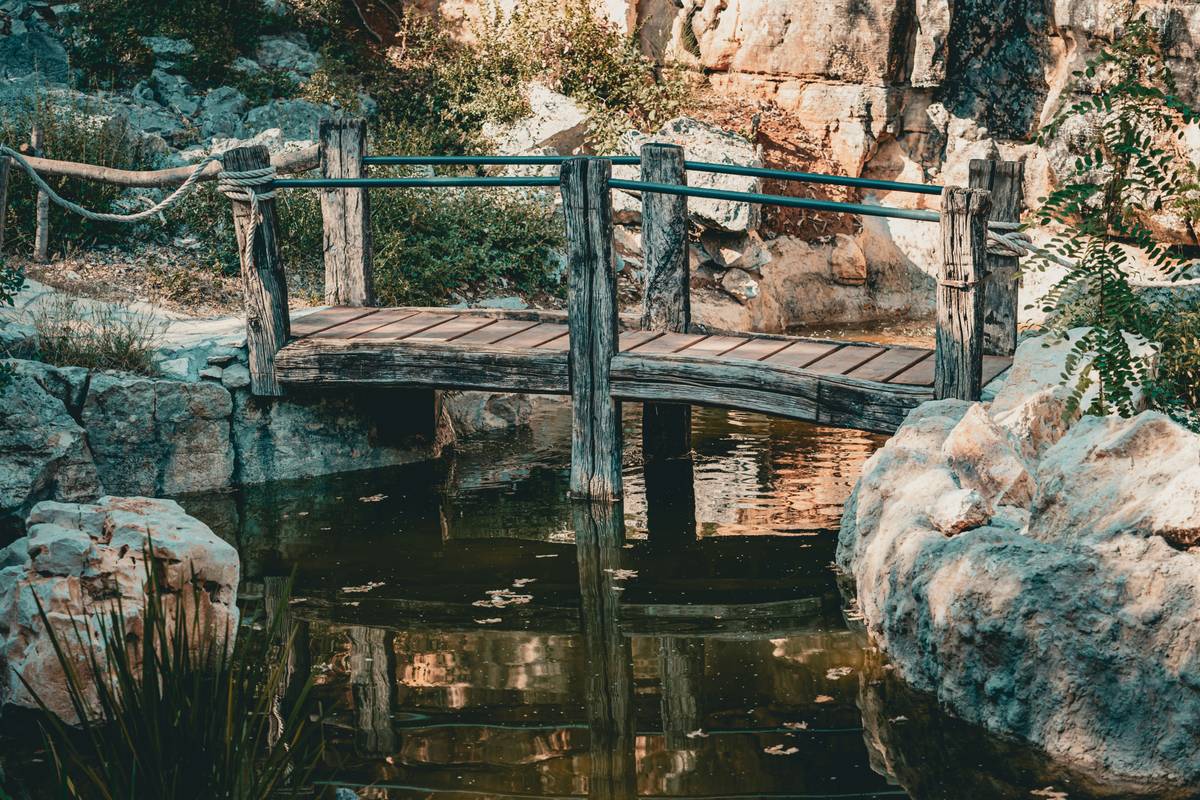
Step-by-Step Build Guide for Your First Bridge
1. Plan Dimensions and Location
Most residential garden bridges span 3–6 feet. Measure your gap carefully. Account for 6–12 inches of overlap on each side for secure anchoring. Sketch your design—arched or flat? Straight or curved sides?
2. Choose the Right Wood
Opt for pressure-treated southern yellow pine (ACQ-rated) or naturally durable woods like cedar. Avoid pine labeled “above-ground use only”—it won’t last. The USDA Forest Service recommends rot-resistant species for ground-contact applications like bridges (Forest Products Laboratory).
3. Install Footings Below Frost Line
Dig post holes at least 36 inches deep (deeper in northern states). Fill with concrete and set galvanized post anchors. This prevents shifting during freeze-thaw cycles—a common cause of bridge failure.
4. Frame and Deck
Build your support frame with 2×6 or 2×8 joists spaced 16 inches apart. Attach decking boards with corrosion-resistant screws (not nails—they pop out). Leave ¼-inch gaps between boards for drainage.
5. Finish and Seal
Wait until wood moisture content is below 15% before applying sealant. Use a clear water-repellent finish to preserve natural grain while blocking UV damage.
Pro Tips and Best Practices
- Add non-slip texture: Lightly sand deck boards or use composite lumber with grit for wet conditions.
- Go wide enough: Minimum 24 inches wide for comfortable passage; 30+ inches if wheelbarrows will cross.
- Don’t skip permits: Some municipalities require permits for structures over drainage areas—check with your local building department.
- Terrible tip to avoid: “Just nail it together and call it rustic.” Rustic ≠ unsafe. A loose board can cause serious falls.
Real-World Examples That Work
A homeowner in Portland, OR, installed a 4-foot simple diy garden bridge over a rock-lined swale using cedar and stainless hardware. After three rainy seasons, it showed zero signs of rot—thanks to proper slope and elevated footings. Meanwhile, a University of Florida extension study found that bridges built with sealed, kiln-dried lumber lasted 2.3x longer than untreated versions in humid climates (UF/IFAS EDIS). At GoCones, we’ve helped dozens of clients integrate bridges into larger outdoor makeovers—see our About Us page for our team’s hands-on experience.
Frequently Asked Questions
How much does a simple DIY garden bridge cost?
Materials typically run $150–$400, depending on wood type and span. Compare that to professional installations ($1,200+)—you save significantly with careful planning.
Can I build a bridge without concrete footings?
Only for very light-duty, temporary displays. For anything meant to last—or support human weight—concrete footings are non-negotiable for stability.
What’s the easiest wood to work with for beginners?
Cedar is lightweight, easy to cut, and naturally resistant to decay. Just wear a mask—it can irritate lungs when sanding.
Do I need to waterproof the underside?
Not usually, if you’ve used pressure-treated or rot-resistant wood. Focus sealing efforts on top surfaces and end grains where water enters.
How long does it take to build?
Most weekend warriors complete a basic simple diy garden bridge in 2–3 days, including drying time for concrete and wood.
Where can I get help designing mine?
We offer free consultations! Reach out via our Contact Us page. And remember—we respect your privacy; review our Privacy Policy anytime.
So go ahead—bridge that gap in your yard. With solid prep and the right materials, your simple diy garden bridge won’t just look charming… it’ll stand the test of monsoons, snowmelt, and your nosy neighbor testing its “sturdiness.” One final thought: Gardens grow, but good craftsmanship lasts. Now grab your tape measure—and maybe skip the pine this time.