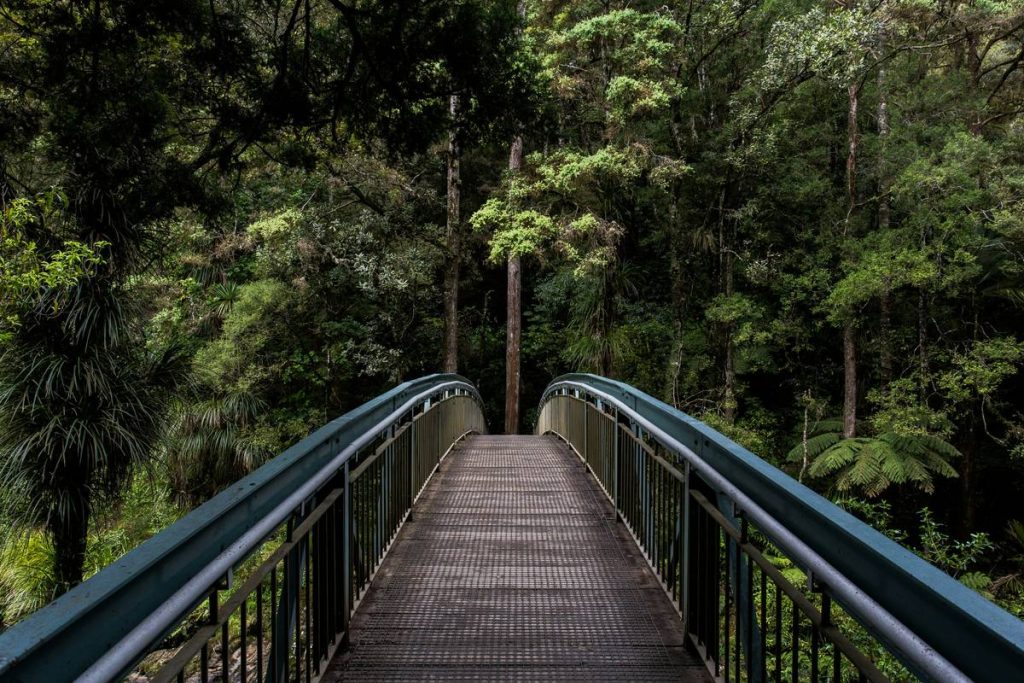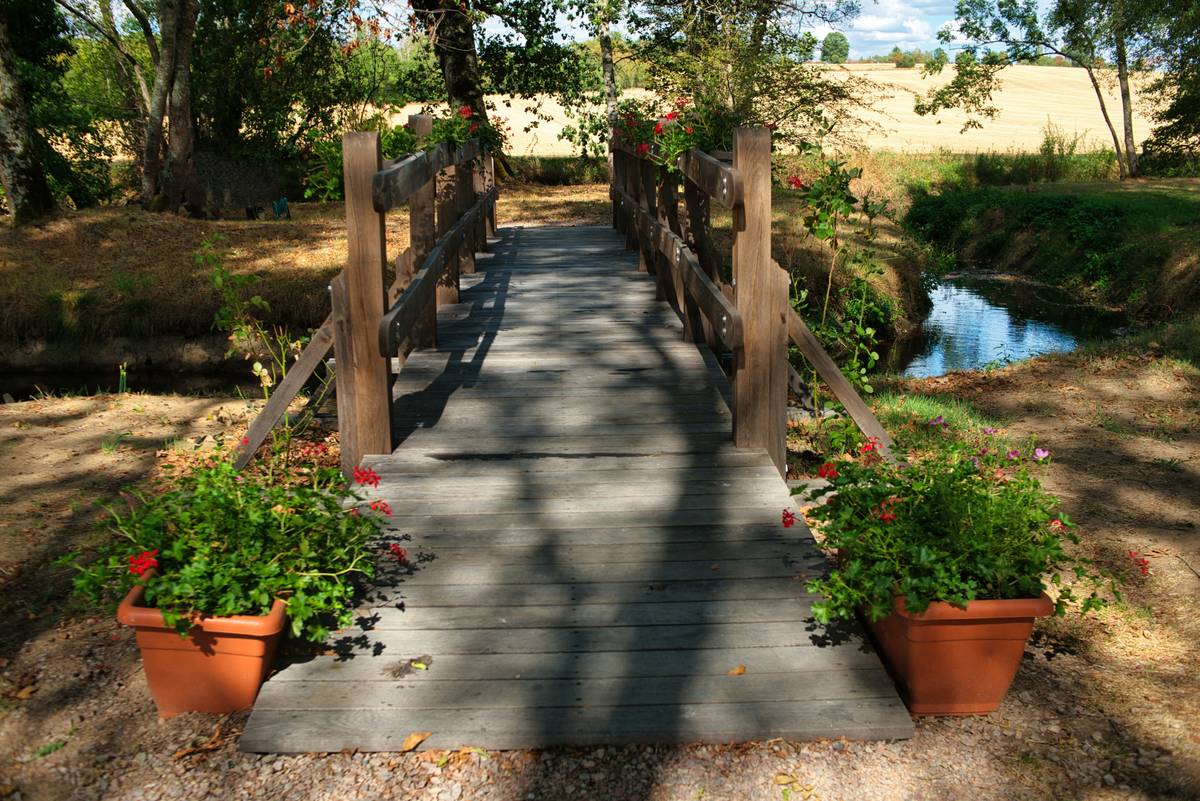
Ever walked across a wobbly, half-sunken garden bridge and thought, “I could do better”? You’re not alone. Backyard bridges aren’t just decorative—they solve real drainage issues, connect landscape zones, and add charm that boosts curb appeal. But I once built a cedar archway over a dry creek bed… only to watch it warp into a sad lean-to after one rainy spring. Lesson learned: aesthetics without engineering is just expensive yard art. In this guide, we’ll explore practical diy garden bridge ideas that balance beauty, function, and durability—so you don’t repeat my rookie errors.
Table of Contents
- Why Garden Bridges Matter in Home Improvement
- Step-by-Step Guide to Building Your Own Bridge
- Top Tips & Best Practices for Long-Lasting Results
- Real-World Examples That Actually Work
- Frequently Asked Questions
Key Takeaways
- Always anchor your bridge to stable footings—floating structures fail fast.
- Use rot-resistant wood like cedar, redwood, or pressure-treated lumber rated for ground contact.
- Slope matters: even “dry” creek beds need drainage clearance underneath.
- Keep spans under 6 feet unless you add center supports.
- Test load capacity with 2–3 adults before declaring it done.
Why Garden Bridges Matter in Home Improvement
Garden bridges aren’t just Pinterest eye candy—they’re functional solutions for sloped yards, seasonal runoff, or simply creating visual flow between garden rooms. According to the National Association of Landscape Professionals, well-placed hardscaping like bridges can increase property value by up to 15%. Yet many DIYers skip foundational planning, leading to sagging decks, rotting posts, or worse—tripping hazards.

Step-by-Step Guide to Building Your Own Bridge
1. Assess Your Site
Measure the span (width of your gap) and note soil type. Sandy soil shifts; clay holds moisture. For spans over 4 feet, plan for at least two end footings plus a center pier if needed. Check local building codes—some municipalities require permits for structures over water features.
2. Choose Materials Wisely
Avoid pine—it rots fast when exposed to moisture. Opt for cedar, redwood, or composite decking boards. For supports, use 4×4 or 6×6 posts made from pressure-treated lumber rated for “ground contact” (look for UC4A or UC4B labels per the American Wood Council standards).
3. Build Stable Footings
Dig holes 12–18 inches deep below frost line (check USDA frost depth maps). Fill with gravel for drainage, then set posts in concrete. Let cure 48 hours. This step prevented my second attempt from leaning—unlike my first disaster.
4. Frame and Deck
Construct a rectangular frame using 2×6 or 2×8 joists spaced 12 inches apart. Attach decking boards with stainless steel screws (galvanized rusts). Leave ¼-inch gaps between boards for expansion and drainage.
5. Add Safety Features
For bridges over 18 inches high, install railings. Even low bridges benefit from subtle handholds—especially if kids or elderly visitors use your yard.
Top Tips & Best Practices for Long-Lasting Results
- Don’t skip the slope: Ensure the bridge deck slopes slightly (⅛ inch per foot) to shed rainwater.
- Seal annually: Apply a penetrating oil-based sealant—not film-forming paint—to protect wood without trapping moisture.
- Avoid this terrible tip: “Just lay planks across stones!” Nope. Without anchoring, they’ll shift, crack, or become tripping hazards within months.
- My pet peeve: Those flimsy “garden bridges” made of PVC pipe and fake bamboo. They look cheap, degrade in UV light, and offer zero structural integrity. If you’re investing time, build something real.
Real-World Examples That Actually Work
A homeowner in Portland, OR, built a 5-foot cedar bridge over a seasonal swale using our method. After three wet winters, it showed no sagging—thanks to concrete footings and proper drainage gaps. Meanwhile, a University of Minnesota extension study found that bridges with sealed, elevated decks lasted 2–3 times longer than untreated versions (UMN Extension).
At GoCones, we’ve advised dozens of clients through our About Us consultations to prioritize function first. One client avoided $1,200 in contractor fees by following these exact steps—and added solar path lights for under $50.
Frequently Asked Questions
How wide should a diy garden bridge be?
Aim for 24–36 inches. Narrower feels cramped; wider requires more support. 30 inches is the sweet spot for single-file walking with comfort.
Can I build a bridge over a dry creek bed?
Yes—but still design for water flow. Even “dry” beds channel rain runoff. Leave 6+ inches of clearance underneath to prevent debris buildup.
What’s the cheapest material for diy garden bridge ideas?
Reclaimed railroad ties (if untreated) or salvaged timber from local demolition sites. But verify they’re free of creosote or lead paint first.
Do I need a permit?
Possibly. Check with your city planning office. Structures over waterways or taller than 30 inches often require approval.
How long will a wooden bridge last?
With annual sealing and proper footings, 10–15 years. Untreated? Maybe 2–3.
Can I add lighting?
Absolutely! Solar post caps or low-voltage LED strips enhance safety and ambiance. Just route wires through pre-drilled holes to avoid surface damage.
Done right, your bridge becomes a backyard landmark—not a liability. If you’re unsure about load calculations or material choices, contact us for a free consult. And remember: every great garden tells a story. Make yours one of craftsmanship, not collapse. As the old landscaper’s haiku goes: Wood meets water’s edge / Patience builds what haste destroys / Step with quiet pride.