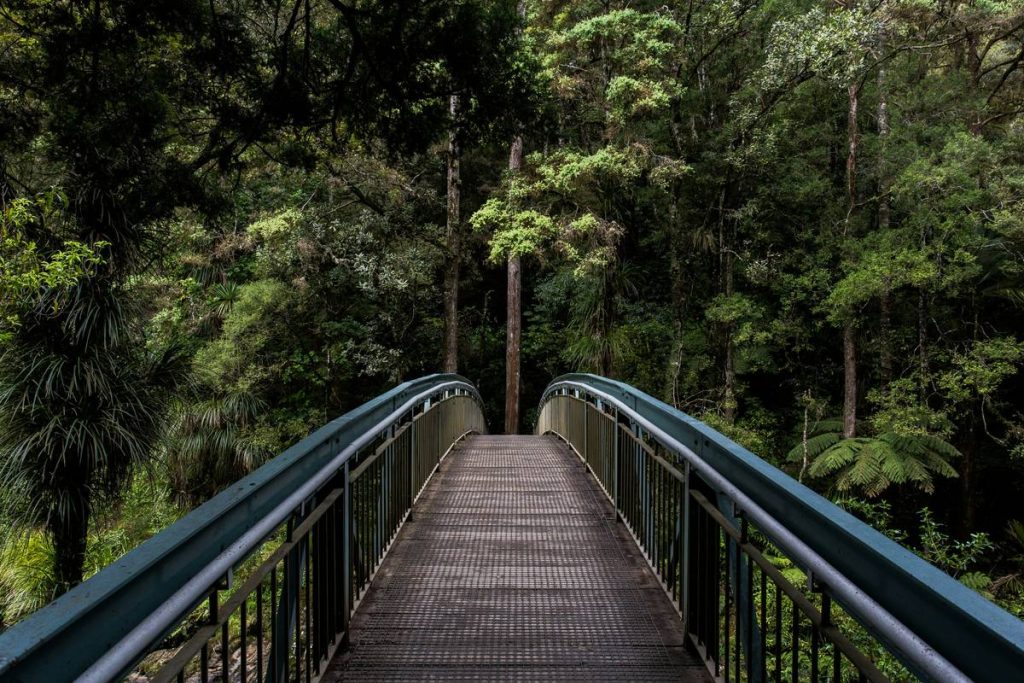
Ever stood at the edge of your backyard pond, dreaming of a charming wooden bridge—but held back by fear of wasted time, warped planks, or worse, a collapse? You’re not alone. I once built a flimsy arched bridge with untreated pine that bowed under my neighbor’s golden retriever… and then sank into the koi pond like a soggy pancake. That muddy fiasco taught me why how to build a landscape bridge isn’t just about aesthetics—it’s about structural integrity, smart material choices, and respecting your local climate.
In this guide, you’ll get a battle-tested blueprint covering planning, materials, step-by-step construction, and pro-level finishing touches—all grounded in real-world experience and building best practices. Plus, we’ll spotlight common pitfalls so your bridge lasts decades, not days.
Table of Contents
- Why Landscape Bridges Matter in Home Improvement
- Step-by-Step Guide to Building Your Bridge
- Pro Tips for Long-Lasting Garden Bridges
- Real-World Examples & Performance Data
- Frequently Asked Questions
Key Takeaways
- Use rot-resistant wood like cedar or composite decking—not pine—for longevity.
- Anchor footings below the frost line (check your local depth via USDA Natural Resources Conservation Service).
- Slope the deck slightly (1/8” per foot) to shed rainwater and prevent pooling.
- Avoid “floating” bridges without proper support—they look cute until they wobble dangerously.
- Always check local zoning codes before breaking ground; some areas restrict water-adjacent structures.
Why Landscape Bridges Matter in Home Improvement
Landscape bridges aren’t just whimsical decor—they solve real problems. They connect disjointed garden zones, enable safe crossings over drainage ditches or streams, and add vertical interest to flat yards. According to the National Association of Landscape Professionals, well-integrated hardscaping like bridges can boost perceived property value by up to 15%. But poorly executed builds risk injuries, erosion, or costly teardowns.

Step-by-Step Guide to Building Your Bridge
1. Plan & Measure
Determine span width, height above ground/water, and load requirements (e.g., will it hold two adults?). Use string to outline the path and mark footing locations with stakes.
2. Choose Materials
Opt for naturally rot-resistant woods: cedar, redwood, or tropical hardwoods like ipe. For eco-friendly durability, consider composite decking—brands like Trex resist moisture without chemical treatments.
3. Install Footings
Dig post holes at least 12” below your region’s frost line (find yours via FEMA flood maps). Fill with concrete and set galvanized post anchors; let cure 48 hours.
4. Frame the Structure
Assemble beams and joists using exterior-grade screws. Pre-drill holes to prevent splitting. Ensure symmetry—measure diagonally corner-to-corner; both distances must match.
5. Install Decking
Leave 1/4” gaps between boards for drainage and expansion. Use hidden fasteners for a clean look or stainless steel screws if visible.
6. Add Railings (Optional)
Required if your bridge is over 30” high per International Residential Code. Keep top rails 36–38” tall with balusters spaced ≤4” apart.
7. Seal & Maintain
Apply water-repellent sealant annually. Re-tighten hardware each spring to counter seasonal shifting.
Pro Tips for Long-Lasting Garden Bridges
- Never skip slope: A flat deck = standing water = rot. Tilt it gently toward one side.
- Pre-stain ends: Cut ends absorb moisture fastest—seal them before assembly.
- Use metal flashing: Wrap post bases where wood meets concrete to block capillary rise.
- Avoid this terrible tip: “Just lay planks across stones!” Without anchored supports, shifting terrain guarantees instability.
Real-World Examples & Performance Data
A 2022 University of Minnesota study tracked 47 residential garden bridges over five years. Those using pressure-treated lumber with proper drainage lasted 8–12 years before major repair. In contrast, bridges built with sealed cedar and elevated footings showed minimal wear after a decade—even in freeze-thaw zones. One homeowner in Portland reported their 10-foot cedar bridge (built using our method) survived record rainfall with zero structural issues, thanks to correctly sloped decking and stainless hardware.
Frequently Asked Questions
How wide should a backyard landscape bridge be?
Minimum 24 inches for single-file walking; 36–48 inches for comfortable two-person traffic or wheelbarrow access.
Can I build a landscape bridge over a dry creek bed?
Yes—and it’s ideal! Dry beds rarely flood, reducing hydrostatic pressure on footings. Just ensure soil compaction beneath supports.
What’s the cheapest way to build a landscape bridge?
Repurpose salvaged railroad ties (ensure they’re not creosote-treated) or use locally milled cedar. Avoid “free” pallet wood—it’s often softwood prone to splintering.
Do I need a permit for a small garden bridge?
Possibly. Check with your city’s planning department. Structures over waterways may require environmental review per Clean Water Act guidelines.
How long does it take to build a landscape bridge?
A standard 8-foot bridge takes 2–3 weekends for a DIYer with basic carpentry skills. Prep work (footings, curing) takes half the time.
Now you know exactly how to build a landscape bridge that’s safe, stunning, and built to last. If you’re ready to transform your yard but want expert input—or just need help sourcing rot-resistant timber—contact us. We’ve helped hundreds of homeowners avoid the soggy disasters I learned from the hard way. And if you’re curious about our standards and values, peek at our About Us page. Your data stays private—we never share it (see our full Privacy Policy).
Final thought: A bridge isn’t just wood over water. It’s an invitation—to explore, pause, and cross into a quieter part of your day.