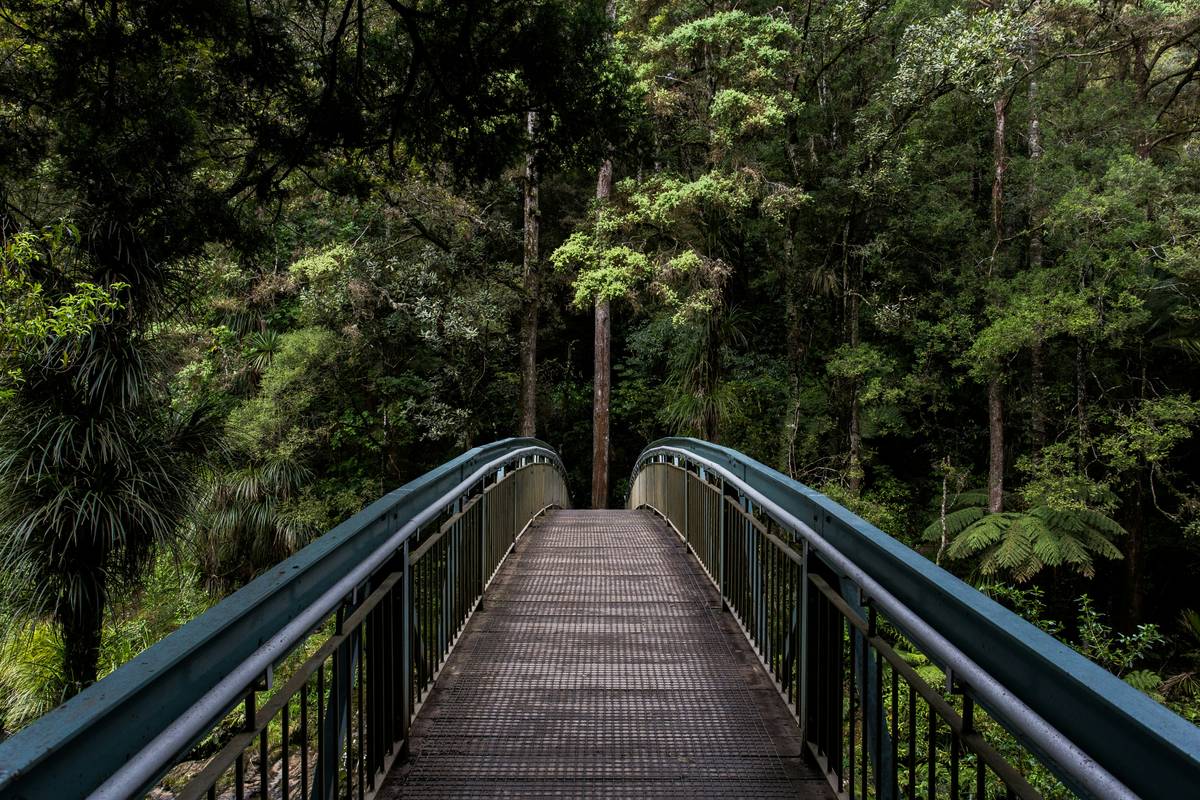
Your garden feels disconnected. A dry creek bed or a narrow pond slices your outdoor space in two—forcing awkward detours and killing flow. Most store-bought kits rot within two seasons. Cheap pressure-treated lumber warps, splits, or leaches toxins into the soil. But what if you could craft a custom wood bridge for garden that’s both heirloom-quality and ecologically sound? It’s simpler than you think—if you avoid the usual traps.
Why Most Garden Bridges Fail Within 24 Months
Homeowners grab whatever’s on sale at the big-box store. They skip proper foundation work. They use untreated pine or non-marine-grade fasteners. Then rain hits. Freeze-thaw cycles expand cracks. Fungi move in. And suddenly, your charming crossing becomes a liability—wobbly, splintered, unsafe.
And here’s the kicker: aesthetics suffer too. A poorly proportioned span looks like an afterthought—not a focal point.
Build Your Own Wood Bridge for Garden: A Practical Roadmap
Forget prefab nonsense. Go custom. This isn’t about carpentry mastery—it’s about smart material choices and physics-aware assembly.
Selecting Decay-Resistant Timber
Ditch standard pressure-treated pine. Opt for naturally rot-resistant species: black locust, white oak, or cedar. Yes, they cost more upfront—but factor in replacement labor every 18 months? The math flips fast.
Foundation First: Anchor Like an Engineer
No footings = collapse. Period. Drive galvanized ground anchors 18 inches deep on each side. Bolt your stringers directly to them—not just resting on dirt. This prevents lateral shift during heavy rains or foot traffic.
Decking Spacing & Drainage
Leave ¼-inch gaps between boards. Tight joints trap moisture. Those tiny channels let water escape—and air circulate underneath. Critical for longevity.

| Material Option | Upfront Cost (8-ft Span) | Lifespan (Years) | Maintenance Needs |
|---|---|---|---|
| Pressure-Treated Pine | $85–$120 | 2–4 | Annual sealing; frequent board replacement |
| Cedar | $160–$220 | 8–12 | Light cleaning; optional oiling every 3 years |
| Black Locust | $240–$310 | 20+ | Nearly zero—just debris removal |
Fasteners Matter More Than You Think
Use marine-grade stainless steel screws—not nails. Nails loosen. Screws grip. And never, ever use zinc-coated hardware outdoors. Salt air or acidic rain eats it alive within months.

The Industry Secret: Hide Structural Support in Plain Sight
Most DIYers treat bridges as flat platforms. Pros know better. The magic? Curved stringers beneath the deck that mimic natural arches. Not only do they handle load distribution far better than straight beams—but when clad in live-edge slabs, they look like organic extensions of the landscape.
Here’s how: laminate two 1x8s with exterior epoxy, clamp over a plywood form cut to your desired arc, then secure once cured. The result? A bridge that carries weight like steel—but whispers “handcrafted” with every grain pattern.
Frequently Asked Questions
How wide should a residential garden bridge be?
Aim for 24–36 inches. Narrower feels cramped; wider dominates small yards. For wheelbarrows or mobility devices, go 42+ inches.
Can I build a wood bridge over water without permits?
Usually yes—if it’s non-mechanical, under 10 feet long, and doesn’t alter water flow. But check local wetland or HOA rules first.
What’s the cheapest durable wood for garden bridges?
Cedar offers the best balance. It’s 40% cheaper than black locust but lasts 3x longer than treated pine—with no chemical leaching.