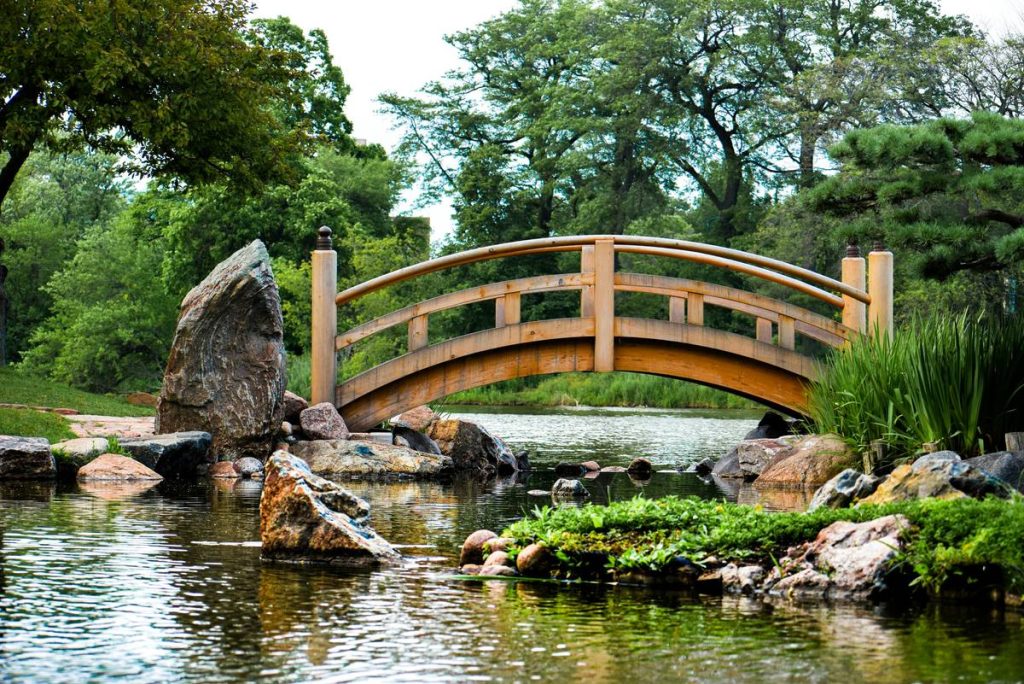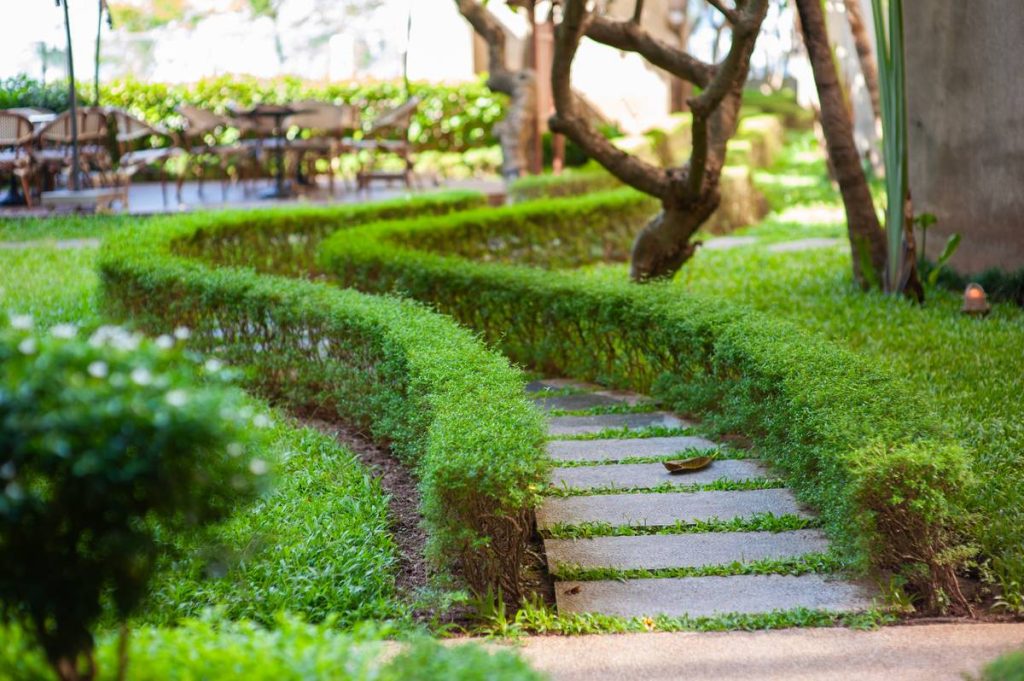
Your backyard feels flat—literally and visually. You’ve planted flowers, added mulch, even installed a birdbath. But something’s missing. That “wow” moment when guests pause mid-step and say, “Whoa.” A garden bridge isn’t just for crossing water. It’s a landscaping feature garden bridge how to secret weapon for depth, drama, and dimension—even without a pond.
Why Most DIY Garden Bridges Look Cheap (And Fail Fast)
People bolt together pressure-treated 2x4s, slap on paint, and call it art. Then rain hits. Wood warps. Paint peels in six months. And worse—the bridge floats visually. It doesn’t *belong*. It screams “afterthought,” not “centerpiece.”
Here’s the reality: A bridge isn’t furniture. It’s architecture. Ignore scale, sightlines, or material aging—and you waste time, money, and curb appeal.
Landscaping Feature Garden Bridge How To: The Builder’s Blueprint
Forget Pinterest fluff. This is how landscapers actually do it—on budget, built to last, and blended seamlessly.
Step 1: Site First, Design Second
Walk your yard at golden hour. Where does your eye linger? Place the bridge where it frames a view—not blocks it. Even dry creek beds or gravel paths benefit. Pro tip: Curve the path slightly before the bridge. Creates mystery.
Step 2: Choose Material Based on Longevity—Not Just Looks
Cedar lasts longer than pine but costs more upfront. Concrete mimics stone forever—but needs formwork skills. Recycled plastic lumber? Rot-proof, zero maintenance, but looks synthetic if poorly lit. Match your zone’s humidity and your patience for upkeep.
Step 3: Anchor It Like Infrastructure—Not Decor
No one talks about footings. Big mistake. A 6-foot bridge needs concrete piers below frost line—or it’ll tilt after one winter. Yes, it’s extra work. But ask anyone whose bridge now leans like Pisa.
| Material | Avg. Cost (6-ft span) | Lifespan | DIY Difficulty |
|---|---|---|---|
| Pressure-Treated Pine | $120–$200 | 3–7 years | Easy |
| Western Red Cedar | $250–$400 | 10–15 years | Moderate |
| Faux-Stone Concrete | $500–$900 | 25+ years | Hard |
| Recycled Composite | $300–$550 | 20+ years | Easy |
Step 4: Integrate—Don’t Isolate
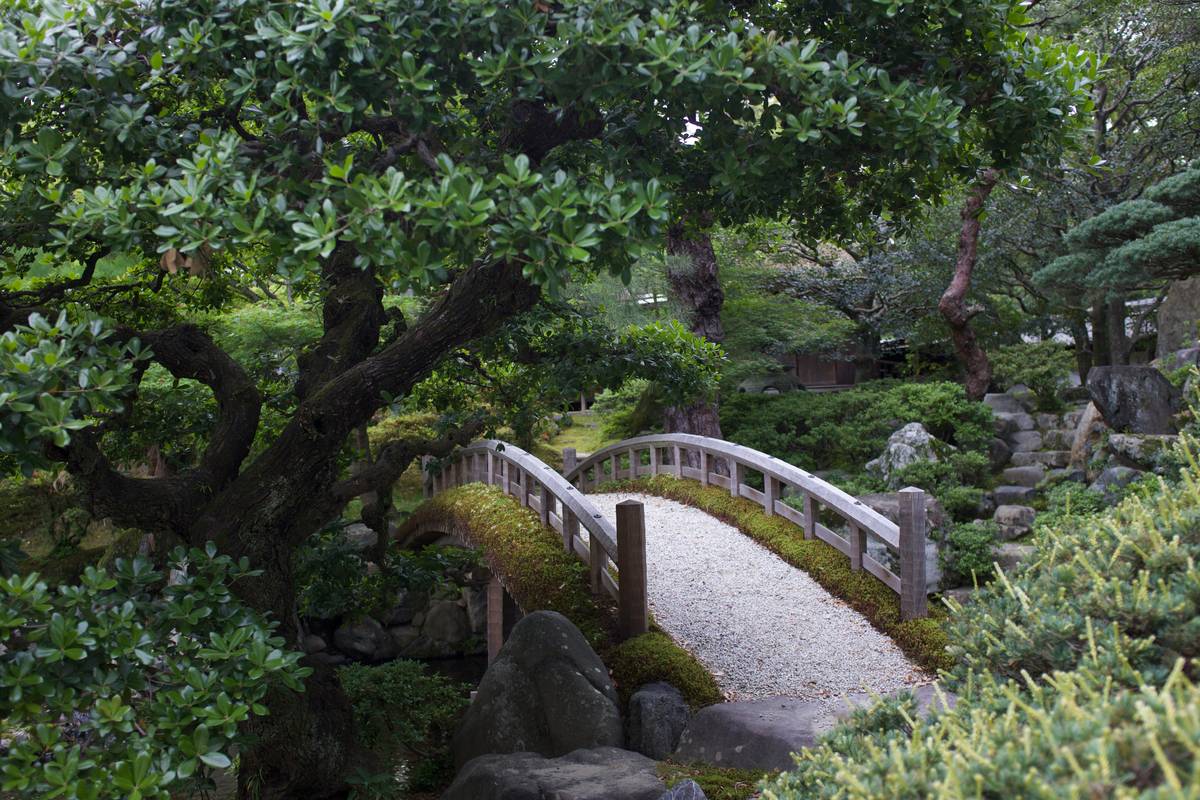
Plant low-growing ground cover (like creeping thyme or mondo grass) right up to the edges. Let vines like clematis climb one post—but never both. Asymmetry feels natural. Symmetry feels staged.
The Industry Secret: Fake the Water
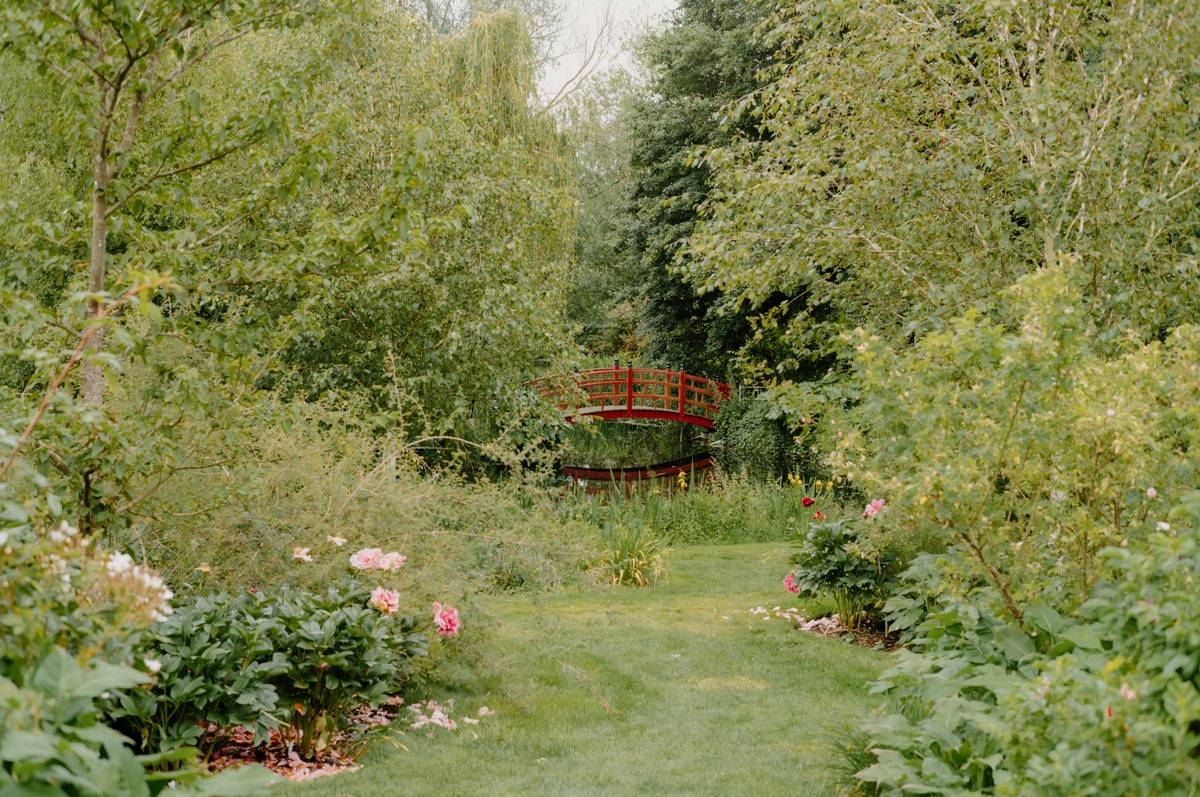
Most homeowners think you need a pond. You don’t. Here’s what top designers do: dig a shallow trench (8–12 inches deep), line it with black EPDM rubber, and add river rock. Fill it with 2 inches of water. From 10 feet away? It reads as a reflective stream—especially with downlighting. Total cost: under $150. The effect? Guests swear you’ve got a koi pond. And your landscaping feature garden bridge how to just became legendary.
Frequently Asked Questions
Do garden bridges need handrails?
Not legally—but visually, yes for spans over 4 ft. Use cable railings or slim wood spindles to avoid blocking views.
Can I build a garden bridge over grass?
Absolutely. Just ensure the base sits on compacted gravel or pavers to prevent sinking. Taller grass around the base hides supports beautifully.
What’s the ideal width for a backyard garden bridge?
Between 24 and 36 inches. Wider feels imposing; narrower feels unsafe. 30 inches is the sweet spot for comfort and proportion.