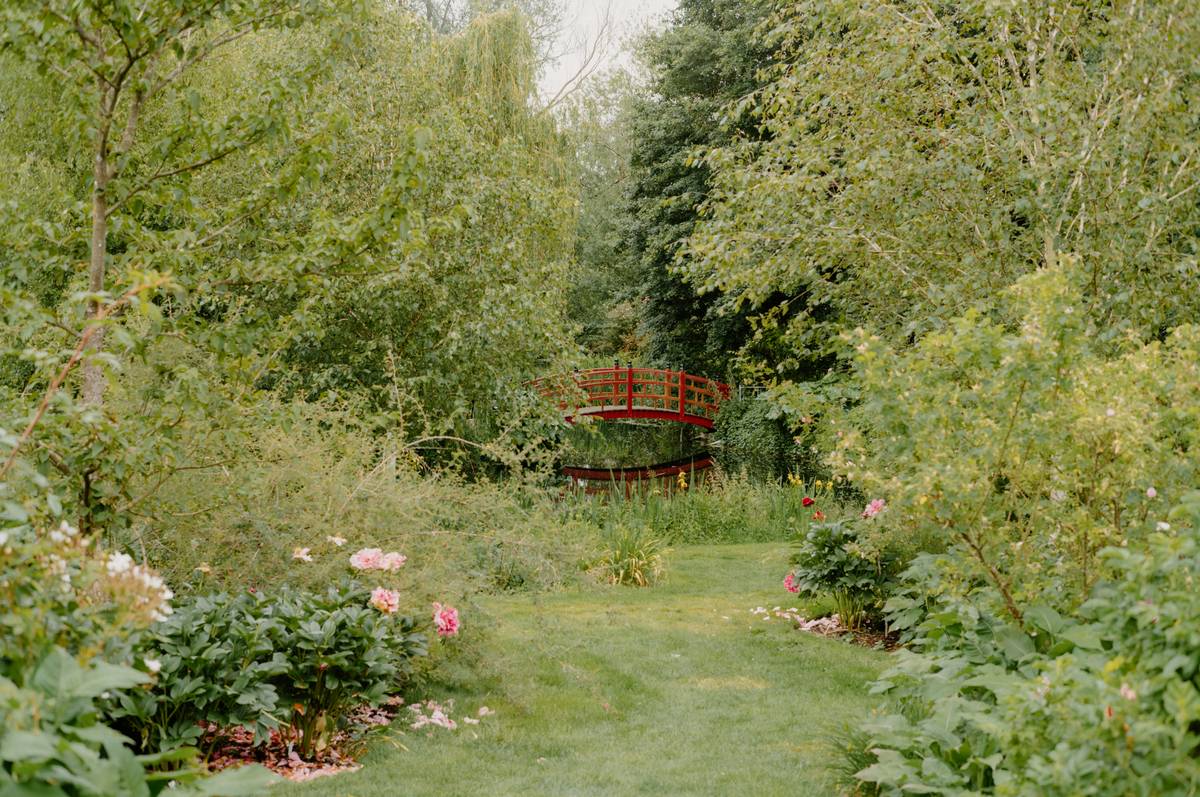
Ever stood in your backyard, staring at a dry creek bed or a sunken pathway, wishing you had a charming wooden bridge—but balked at the price tag of pre-made versions? You’re not alone. A garden bridge isn’t just functional; it’s a statement piece that adds whimsy, depth, and flow to your outdoor space. Yet so many DIYers skip this project because they assume it’s too complex. Truth is, with solid diy garden bridge plans, even beginners can build something safe, beautiful, and long-lasting. In this guide, we’ll walk you through everything—from avoiding rookie errors to choosing rot-resistant wood—so your bridge becomes the envy of the neighborhood (not a tripping hazard).
Table of Contents
- Why Garden Bridges Matter in Home Improvement
- Step-by-Step Guide to Building Your Own
- Top Tips & Best Practices
- Real Examples That Work
- Frequently Asked Questions
Key Takeaways
- Precise diy garden bridge plans prevent structural failures and wasted materials.
- Cedar or redwood outperforms pressure-treated pine for longevity and aesthetics.
- Always account for ground settling and drainage—especially over water features.
- A 36-inch width is the minimum for comfortable, safe passage.
- Use galvanized or stainless steel hardware to avoid rust stains and joint failure.
Why Garden Bridges Matter in Home Improvement
In home improvement, landscaping features like garden bridges do more than just look pretty—they add perceived value. According to a study by Virginia Tech’s Department of Forest Resources and Environmental Conservation, thoughtfully integrated hardscaping can increase property appeal by up to 15%. A well-placed bridge draws the eye, creates visual rhythm, and solves practical issues like crossing muddy zones or shallow streams.

I learned this the hard way. My first attempt used untreated pine from a big-box store, propped on wobbly concrete blocks. After one rainy spring, the whole thing sagged into the creek bed like a deflated balloon. Lesson? Don’t skip engineering basics just because it’s “just a garden feature.” Safety and stability aren’t optional—they’re essential.
Step-by-Step Guide to Building Your Own
1. Assess Your Site
Measure the span you need to cross. Add 12–18 inches total for secure footings on each side. Note soil type—sandy or loamy ground needs deeper supports.
2. Choose Your Design
Flat or arched? Arched bridges look elegant but require precise cutting. For beginners, a simple beam design with slight crown (for drainage) is smarter.
3. Select Materials
Opt for naturally decay-resistant woods like cedar or redwood. Avoid green lumber—it’ll warp as it dries. The USDA Forest Service recommends these species for outdoor structures due to their natural oils that repel insects and moisture (USDA Forest Service).
4. Cut and Assemble
Pre-cut all pieces using your diy garden bridge plans. Use waterproof wood glue plus deck screws—not nails—for joints. Pre-drill holes to prevent splitting.
5. Install Footings
Sink piers or posts at least 24 inches deep below frost line (check local codes via ICC Safe). Fill with gravel for drainage, then set posts in concrete.
Top Tips & Best Practices
- Width matters: Never go narrower than 36 inches—anything less feels claustrophobic and unsafe.
- Handrails aren’t optional for kids or seniors: Even low bridges benefit from subtle railings.
- Seal exposed ends: Apply end-grain sealer to prevent rapid moisture absorption.
- Avoid this terrible tip: “Just lay planks across two logs.” Without proper support, this becomes a splinter hazard within months.
- Slope slightly: A 1/8-inch per foot slope helps shed rainwater off the deck surface.
Real Examples That Work
A homeowner in Portland used free diy garden bridge plans from a university extension site to build a 4-foot cedar bridge over a bioswale. Two years later, it shows zero rot—thanks to elevated footings and quarterly oil treatment. In contrast, a neighbor’s $400 pre-fab composite bridge cracked under freeze-thaw cycles because it lacked expansion gaps. Real durability comes from smart material choices, not just brand names.
Your own project can thrive if you start with reliable diy garden bridge plans and respect basic carpentry principles. At GoCones, we’ve seen dozens of clients transform neglected yards into serene retreats—many starting with a single bridge. Learn more about our philosophy on craftsmanship on our About Us page.
Frequently Asked Questions
How much does it cost to build a DIY garden bridge?
Most small bridges (4–6 ft span) cost $150–$350 in materials if you use cedar or redwood. Pressure-treated pine drops costs but sacrifices longevity.
Can I build a garden bridge over water?
Yes—but ensure footings are anchored below the frost line and use marine-grade fasteners. Always check local wetland regulations first.
Where can I find free diy garden bridge plans?
University extensions like Extension.org offer vetted, engineer-reviewed plans suitable for home use.
How long will a wood garden bridge last?
With proper wood choice and maintenance, 10–15 years is typical. Untreated softwoods may last only 2–3 seasons.
Do I need a permit?
Usually not for non-load-bearing decorative bridges under 30” high—but always verify with your local building department. Review our Privacy Policy if sharing project photos with us.
Ready to turn that gap in your yard into a focal point? Don’t let uncertainty hold you back. Solid diy garden bridge plans are your blueprint to beauty and function. And if you hit a snag—or just want expert feedback—contact us. We’ve helped hundreds cross the chasm between idea and reality.
Remember: every great garden has a story. Yours starts with a single plank… and a little courage.