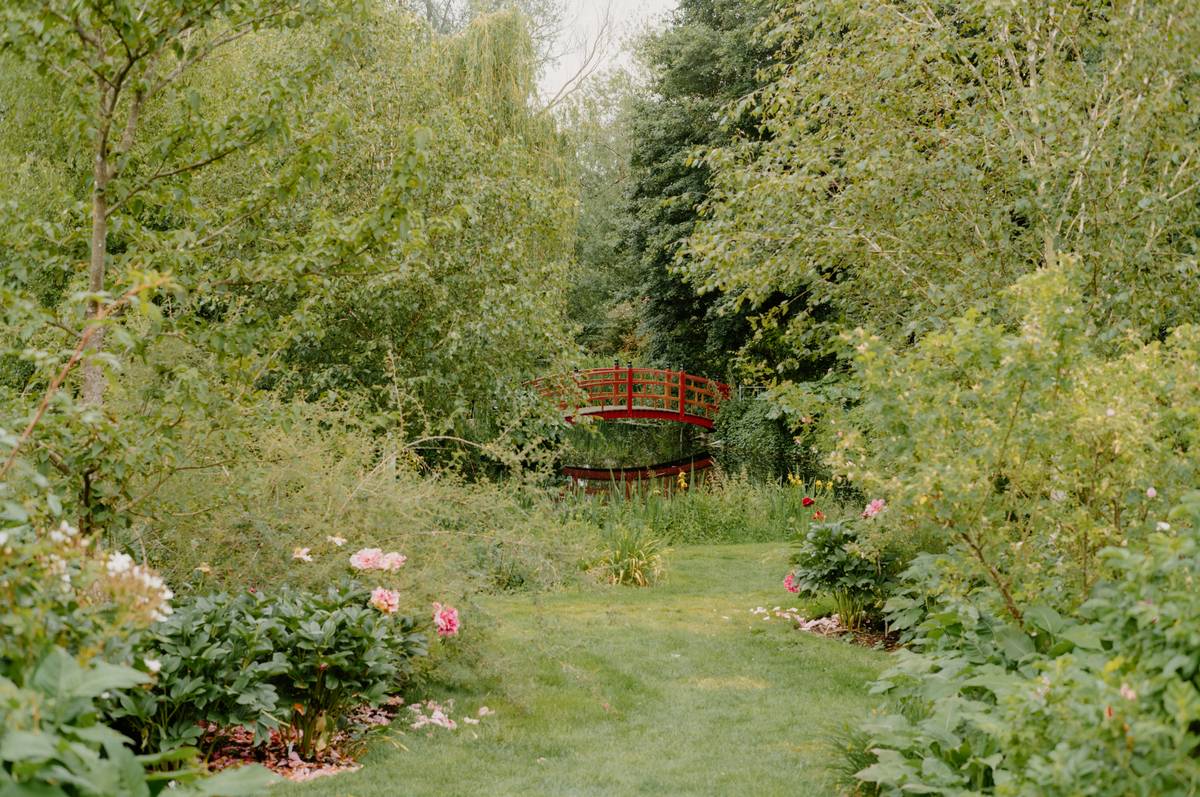
Ever stood in your backyard staring at a half-installed garden bridge, wondering why it looks like a prop from a haunted fairy tale? You’re not alone. Many homeowners dive into outdoor design garden bridge projects with Pinterest dreams but end up with wobbly, waterlogged nightmares. The truth is, garden bridges aren’t just decorative—they’re functional elements that demand smart planning, proper materials, and an eye for balance. In this guide, we’ll unpack exactly what *not* to do when designing or installing a garden bridge, so you avoid the pitfalls I once fell into (yes, that leaning cedar disaster was mine). From structural oversights to aesthetic blunders, here’s how to build—or buy—a bridge that enhances your landscape without draining your wallet or sanity.
Table of Contents
- Why Garden Bridges Matter in Outdoor Design
- Step-by-Step Guide to Choosing and Installing Your Bridge
- 7 Best Practices for Long-Lasting, Beautiful Garden Bridges
- Real-World Examples That Got It Right
- FAQs
Key Takeaways
- Avoid placing a bridge where there’s no natural transition—it creates visual dissonance.
- Prioritize rot-resistant materials like composite, teak, or pressure-treated lumber rated for ground contact.
- Never skip foundation prep; unstable footings lead to dangerous tilting.
- Match bridge style to your garden’s existing aesthetic—rustic bridges clash with modern landscapes.
- Always factor in maintenance; untreated wood may look charming initially but deteriorates fast.
Why Garden Bridges Matter in Outdoor Design
Garden bridges do more than span dry creek beds or pathways—they create focal points, guide foot traffic, and add vertical dimension to flat yards. But poorly executed, they become eyesores or safety hazards. According to the National Association of Landscape Professionals, over 40% of DIY outdoor structure failures stem from improper load calculations or moisture management. I learned this the hard way when my first bridge, built from untreated pine over a decorative gravel stream, sagged within two rainy seasons. It wasn’t just ugly—it was a tripping hazard.

Step-by-Step Guide to Choosing and Installing Your Bridge
Assess Your Site Realistically
Measure the span accurately—not just width but also height differential. A bridge crossing a 3-foot gap needs different engineering than one arching over a 6-inch depression. Use string lines and levels to map elevation changes.
Choose Materials Wisely
Avoid cheap softwoods unless they’re rated for ground contact (look for UC4A or higher). Composite decking boards offer longevity with minimal upkeep. For authenticity, black locust or white oak are naturally rot-resistant hardwoods.
Secure the Foundations
Concrete footings aren’t optional for spans over 4 feet. Dig below frost line depth (check local codes via U.S. Department of Energy guidelines) and anchor posts with galvanized brackets.
7 Best Practices for Long-Lasting, Beautiful Garden Bridges
- Match scale to space: A massive arched bridge overwhelms a small urban lot.
- Add subtle lighting: Solar path lights embedded near railings boost safety and ambiance.
- Include handrails if height exceeds 18 inches: Required by many municipal codes and common sense.
- Pre-finish all surfaces: Seal ends and undersides before assembly—moisture enters through cut edges.
- Avoid “fake water” under dry bridges: Blue pebbles or plastic sheeting often look tacky. Use river rock or native grasses instead.
- Maintain airflow: Elevate the bridge slightly off soil to prevent trapped moisture.
- Test walkability: If children or elders use your yard, ensure non-slip treads—even in rain.
And here’s a terrible tip I’ve heard too often: “Just nail it together—it’s just for show.” Nope. Even purely decorative bridges endure weather, weight, and wear. Flimsy construction risks injury and replacement costs.
Real-World Examples That Got It Right
A client in Portland replaced a collapsing timber bridge with a powder-coated steel frame wrapped in ipe wood. Despite heavy rainfall (averaging 43 inches annually, per NOAA data), the bridge remains stable after five years—thanks to stainless steel fasteners and sloped decking that sheds water. Another success story comes from a suburban Chicago garden where a minimalist Corten steel bridge complements prairie-style plantings, proving modern materials can harmonize with naturalistic designs. These cases highlight one rule: durability shouldn’t sacrifice beauty, and vice versa.
FAQs
What’s the average cost of a quality garden bridge?
Pre-fabricated bridges range from $300 (small resin models) to $2,500+ (custom hardwood spans). Labor adds 20–40% if professionally installed. Always get quotes from licensed contractors listed on platforms like Angi or HomeAdvisor.
Can I install a garden bridge without water underneath?
Yes—and many do! Dry creek beds lined with stone or mulch create compelling transitions. Just ensure the bridge serves a clear path function to avoid looking random.
How wide should a residential garden bridge be?
Minimum 24 inches for single-file walking; 36+ inches allows comfortable two-person passage. Check local building codes—some municipalities require 32-inch minimums for public-facing areas.
Do garden bridges increase home value?
Not directly, but cohesive outdoor design elements can boost curb appeal. According to the National Association of Realtors, well-maintained landscaping yields up to a 10% ROI at sale.
Getting your outdoor design garden bridge what not right isn’t about perfection—it’s about intentionality. Every plank, post, and curve should serve your landscape’s rhythm, not disrupt it. If you’re ready to build something that lasts (and looks gorgeous doing it), our team at GoCones blends craftsmanship with ecological sensitivity. Have questions about materials, permits, or placement? Reach out—we’re happy to help. And remember: your privacy matters to us, so review our full Privacy Policy before sharing project details.
Bridge wisely, tread lightly—and never let Pinterest override practicality.