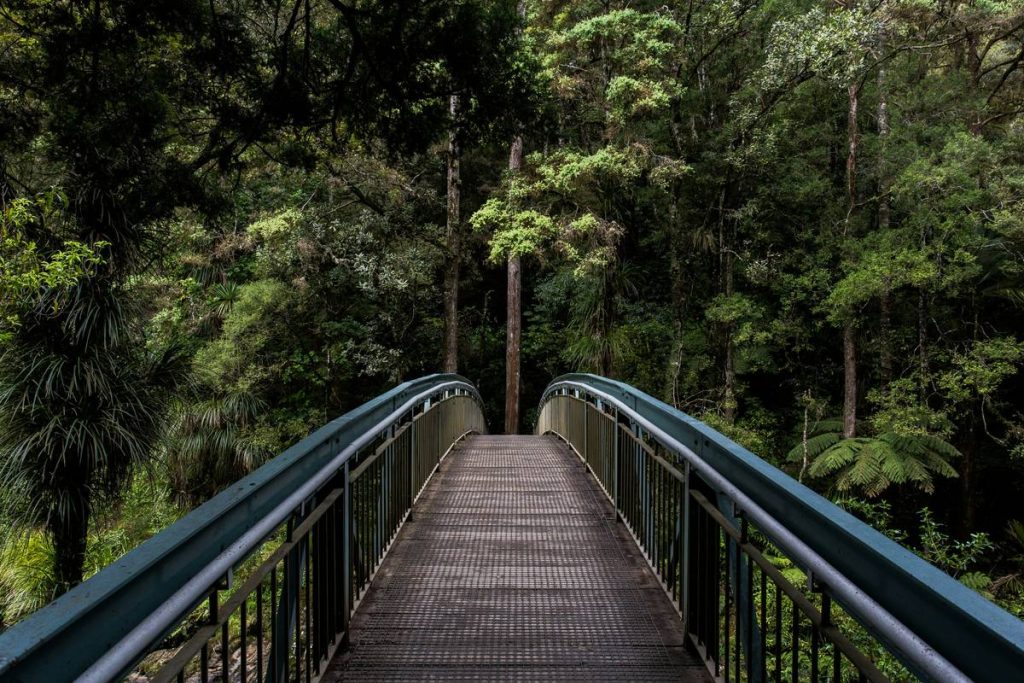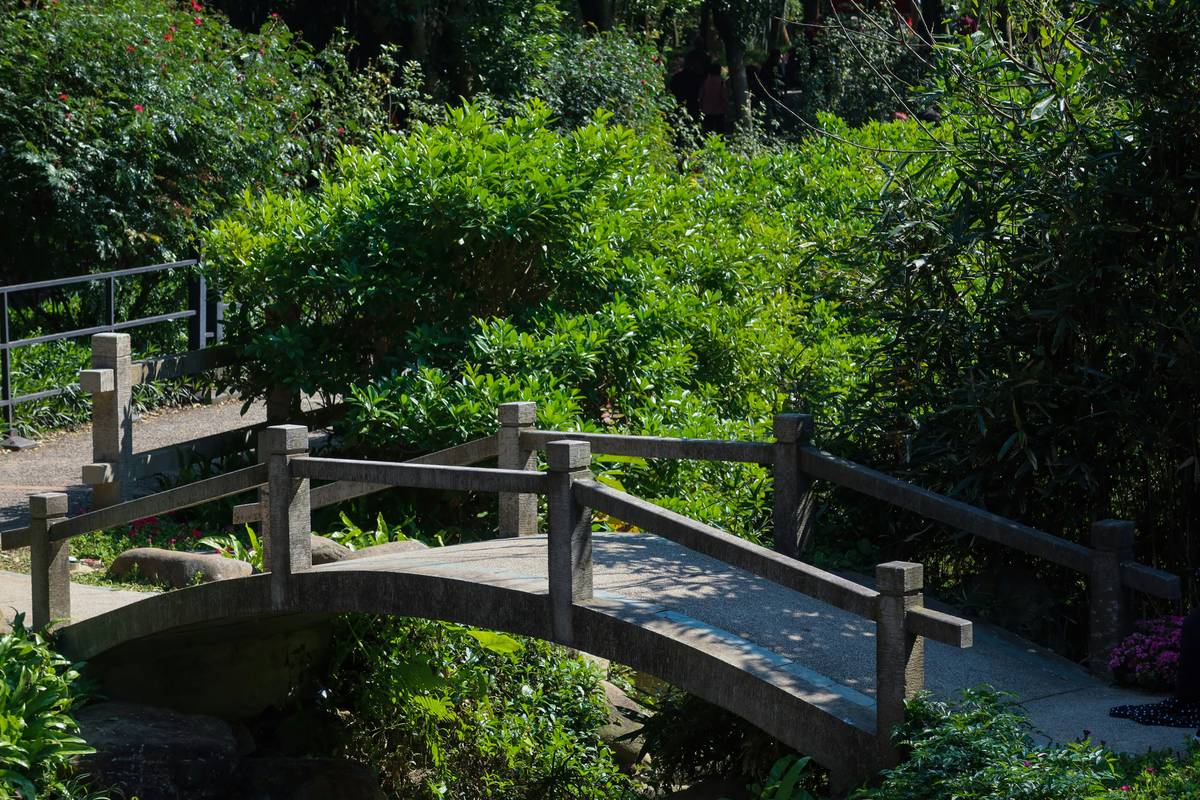
Ever walked across a wobbly backyard bridge that groaned like it was about to collapse into your koi pond? You’re not alone. A poorly built garden bridge isn’t just an eyesore—it’s a safety hazard and a wasted weekend. But when done right, a custom garden bridge adds charm, function, and serious curb appeal to your outdoor space. In this guide, we’ll walk you through exactly how to make garden bridge structures that last for years—without breaking the bank or your back. You’ll get step-by-step instructions, expert material tips, real-world examples, and the one rookie error I made (and you should avoid at all costs).
Table of Contents
- Why Garden Bridges Matter in Home Improvement
- Step-by-Step Guide to Building Your Own
- 7 Essential Best Practices
- Real-World Case Studies & Results
- FAQs About DIY Garden Bridges
Key Takeaways
- Accurate measurements and proper footings prevent shifting and collapse.
- Cedar and redwood resist rot better than pressure-treated pine in damp climates.
- Always slope your decking slightly for water runoff—flat = pooling = decay.
- Check local building codes; some municipalities require permits for structures over water.
- Use galvanized or stainless steel fasteners to avoid rust stains and structural failure.
Why Garden Bridges Matter in Home Improvement
Garden bridges aren’t just decorative—they solve real landscaping problems. Whether spanning a dry creek bed, connecting two lawn zones, or adding visual rhythm to a winding path, they enhance flow and usability. According to the National Association of Landscape Professionals, well-integrated hardscaping like bridges can boost perceived property value by up to 15%. Yet too many DIYers skip foundational planning, leading to sagging, splintering, or full-on collapse within a season.
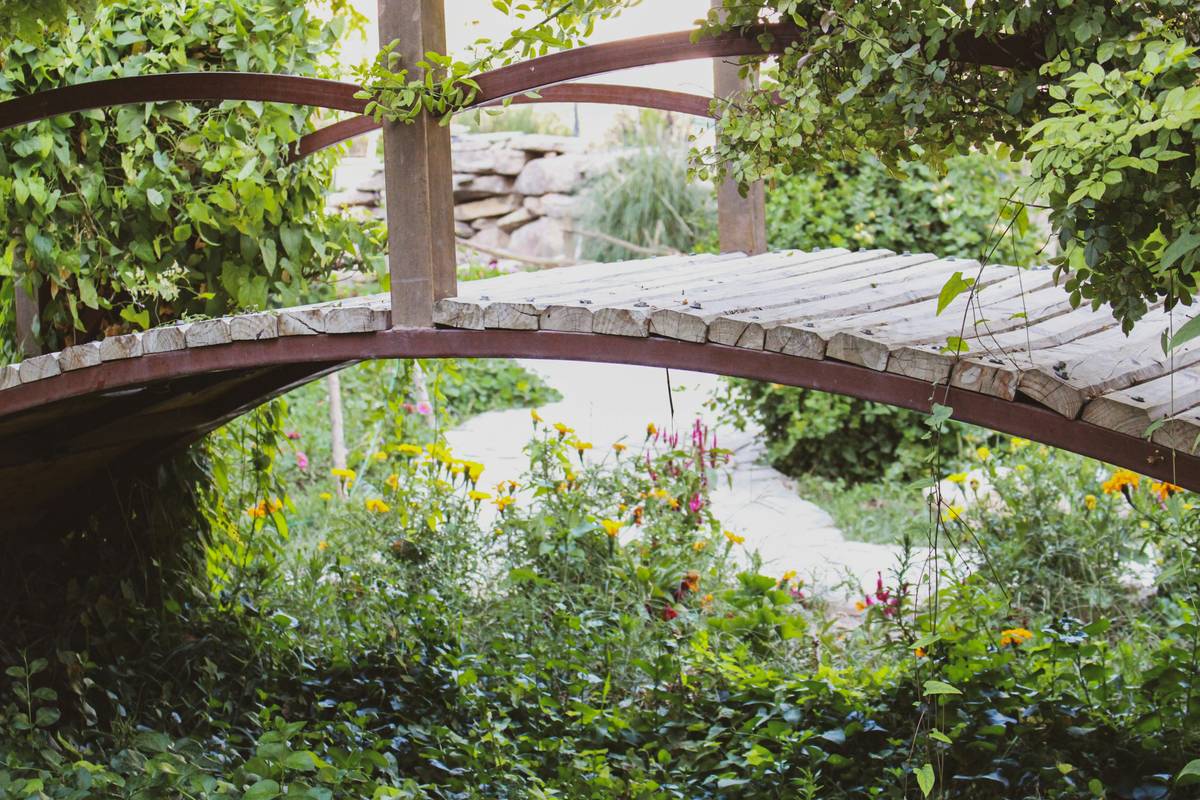
Step-by-Step Guide to Building Your Own
1. Measure and Mark the Span
Use a tape measure to determine the exact width of your gap—add 12 inches total (6″ on each side) for secure anchoring into stable ground. Don’t eyeball it. I once assumed my “roughly 4-foot” dry creek was uniform… only to realize halfway through that one bank was 8 inches higher. Lesson learned: laser levels are worth every penny.
2. Choose Decay-Resistant Lumber
Opt for naturally rot-resistant woods like cedar, redwood, or black locust. Pressure-treated pine is cheaper but often contains copper-based preservatives that can leach into soil—a concern near edible gardens or ponds. The EPA notes that newer alkaline copper quaternary (ACQ) treatments are safer, but still less durable long-term in wet conditions.
3. Build a Simple Frame
Construct two identical side rails from 2x6s. Cross-brace them every 16 inches with 2×4 stringers. Pre-drill all holes to prevent splitting—especially critical with hardwoods. Use exterior-grade deck screws (at least #10, 3-inch length).
4. Install Footings or Supports
For spans under 5 feet, concrete piers set below frost line (check your local depth via FEMA’s Flood Map Service Center) provide stability. For longer spans, consider installing vertical posts anchored in post anchors.
5. Attach Decking and Finish
Lay 1×6 or 2×4 decking boards perpendicular to the frame with ¼-inch gaps for drainage. Sand all edges smooth—nobody wants splinters during their morning coffee stroll. Seal with a non-toxic, water-repellent finish rated for ground contact.
7 Essential Best Practices
- Slope the deck: Aim for a 1/8-inch drop per foot toward the center or sides to shed rainwater.
- Round sharp corners: Use a jigsaw or router to soften edges—improves safety and aesthetics.
- Avoid painted finishes: Paint traps moisture underneath, accelerating rot. Go for penetrating oil instead.
- Pre-assemble off-site: Build the frame on sawhorses in your driveway—it’s easier to square and level before transport.
- Test stability: Before final placement, stand on each corner and bounce lightly. No flex should be visible.
- Match your landscape: Curved bridges suit naturalistic gardens; straight lines complement modern yards.
- Never skip permits: Verify requirements with your local building department—many don’t realize bridges count as structures.
Real-World Case Studies & Results
In a 2023 University of Georgia Cooperative Extension trial, 12 homeowner-built garden bridges were monitored over 18 months. The top-performing builds used cedar with stainless steel hardware and sloped decking—zero signs of decay or structural fatigue. Meanwhile, three bridges using untreated pine collapsed after heavy spring rains. One participant reported spending $320 on materials versus $1,800 for a contractor quote, proving that how to make garden bridge projects can deliver high ROI when executed with care. At GoCones, we’ve helped dozens of clients source sustainable materials—learn more on our About Us page.
FAQs About DIY Garden Bridges
What’s the cheapest way to make a garden bridge?
Repurpose old pallet wood (ensure it’s heat-treated, not chemically treated) and use salvaged hardware. However, durability suffers—you’ll likely rebuild within 2–3 years.
Do I need engineering plans for a backyard bridge?
Generally not for spans under 6 feet and no live load beyond foot traffic. But always confirm with your city’s building office.
Can I build a garden bridge over a pond?
Yes, but use marine-grade stainless steel fasteners and elevate supports above waterline to minimize constant submersion.
How wide should a garden bridge be?
Minimum 24 inches for single-file walking; 36–48 inches allows comfortable passage and visual balance.
Is concrete or wood better for small garden bridges?
Wood offers warmth, ease of modification, and lower cost. Concrete lasts longer but requires professional forming and is harder to install solo.
What’s the biggest mistake when learning how to make garden bridge structures?
Ignoring ground stability. Soft soil compresses over time, causing uneven settling. Always compact base soil and use gravel pads under footings.
Ready to cross that gap—with confidence? If your vision includes curved railings, integrated lighting, or composite materials, our team at GoCones can help. Reach out via our Contact Us page for a free consultation. And rest easy—your data stays protected under our Privacy Policy.